Some time ago Games Workshop implied some new types of bases -32mm, 50mm, oval ones, etc. So, a lot of players faced the need to re-base their armies.Of course, GW said it’s not a must, but new bases make models look reallycooler and provide more possibilities for decoration. However, GW base sets arenot cheap at all. If you have an army of 100 space marines, it’s no cinchre-basing them all. So, we give you this awesome tutorial from Eddie’s HobbyWorkshop.

Step 1: Choose size. It’s better to go to the shop with the ruler andmeasure the diameter of washer’s hole depending of what you need – 25, 32, 40,50 or 60mm. The more you have, the more bases you can make at once.

Step 2: Place the washer on a sheet of paper. Push the polymer clay intothe hole of the washer. Remove any excess clay to form a relatively flatsurface at the same height of the washer. If you want your base to bethicker, just glue together two washers.

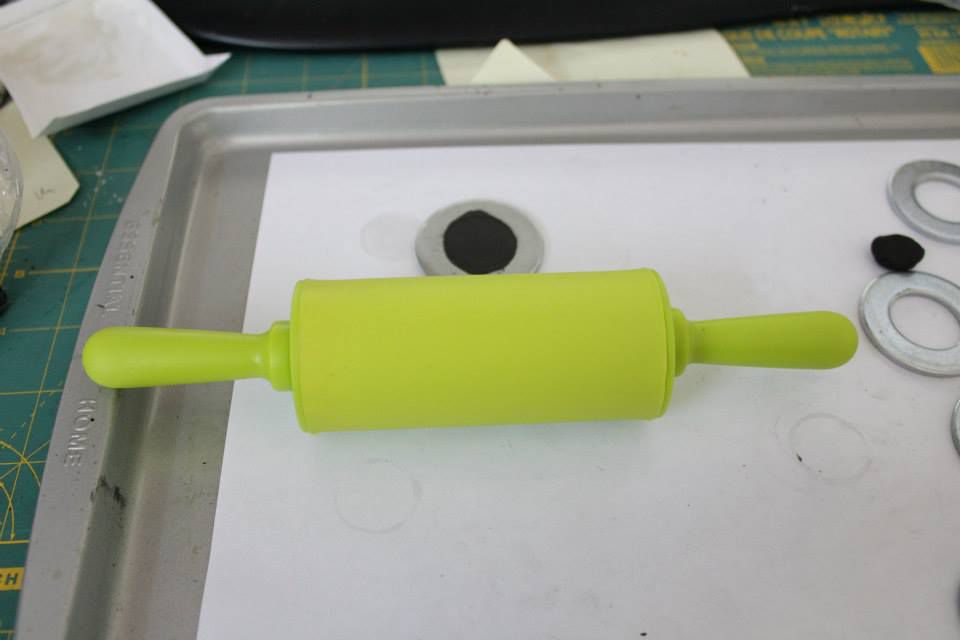
Step 3: Use a small rolling pin to smooth and flatten the surface of thebase.
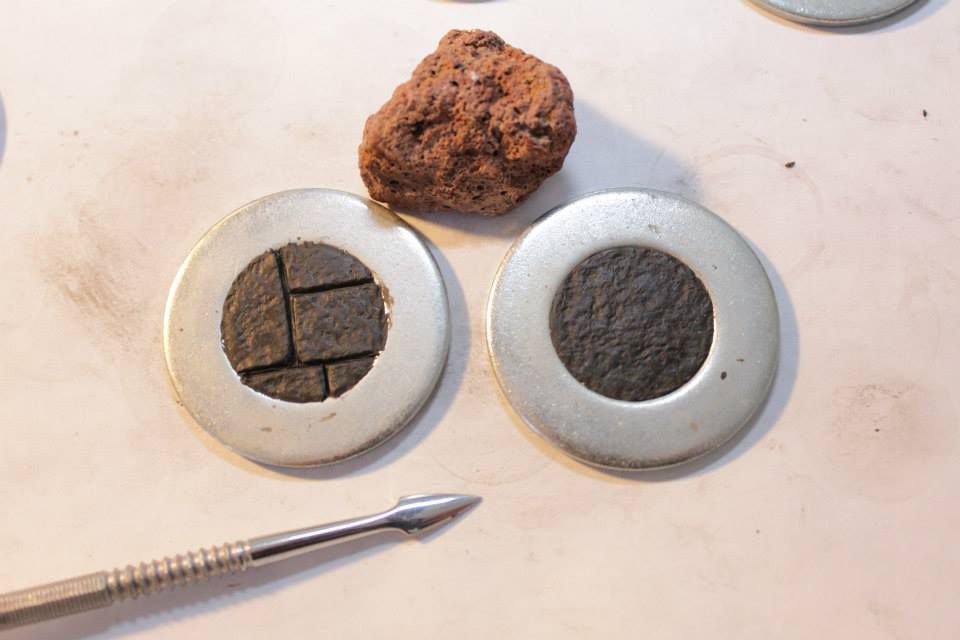
Step 4: You may add texture to base using asmall textured stone and/or sculpting tools
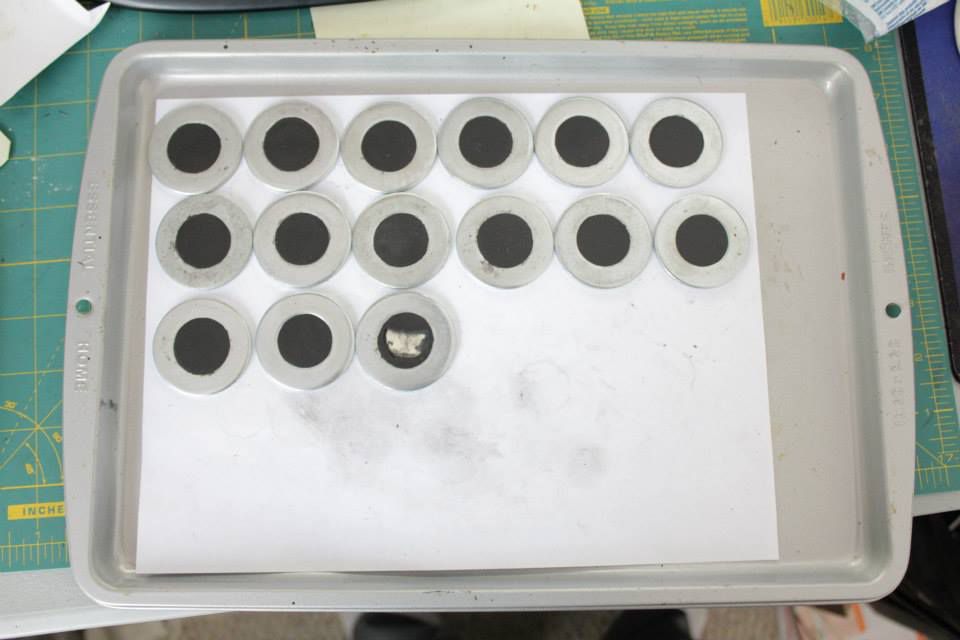
Step 5: Place a sheet of paper on the baking tray and place the bases onthe sheet of paper, then bake per instructions of the polymer clay. Afterbaking and cooling, remove the bases from the washers.
Step 6: Some of the bases will have a bit of clay protruding from thetop. To remove this, push the base through the washer several times forward andbackwards. This will remove most of the protrusions. If some still remain, sandif off with sandpaper.
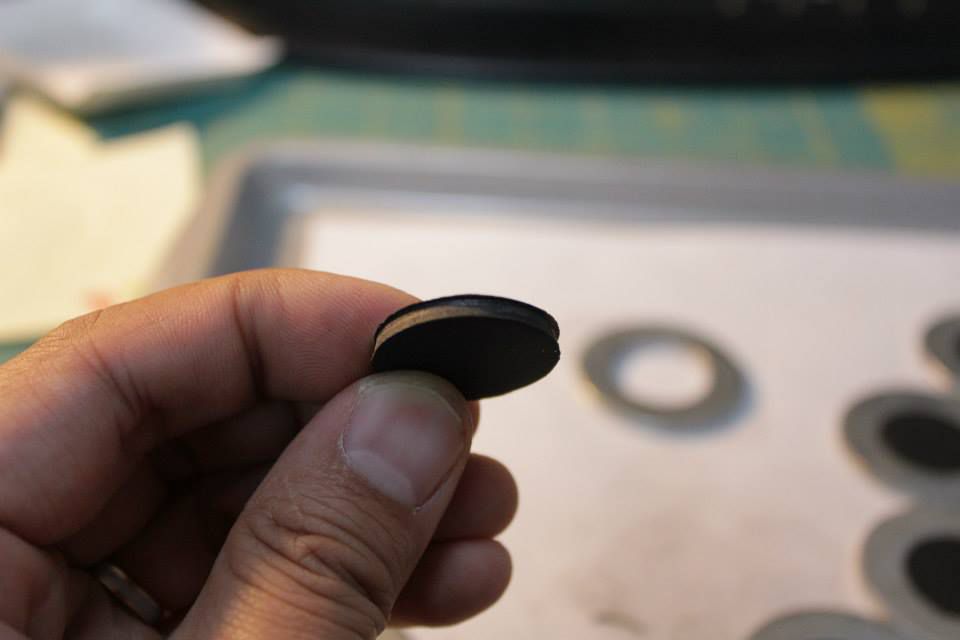
The round bases completed.

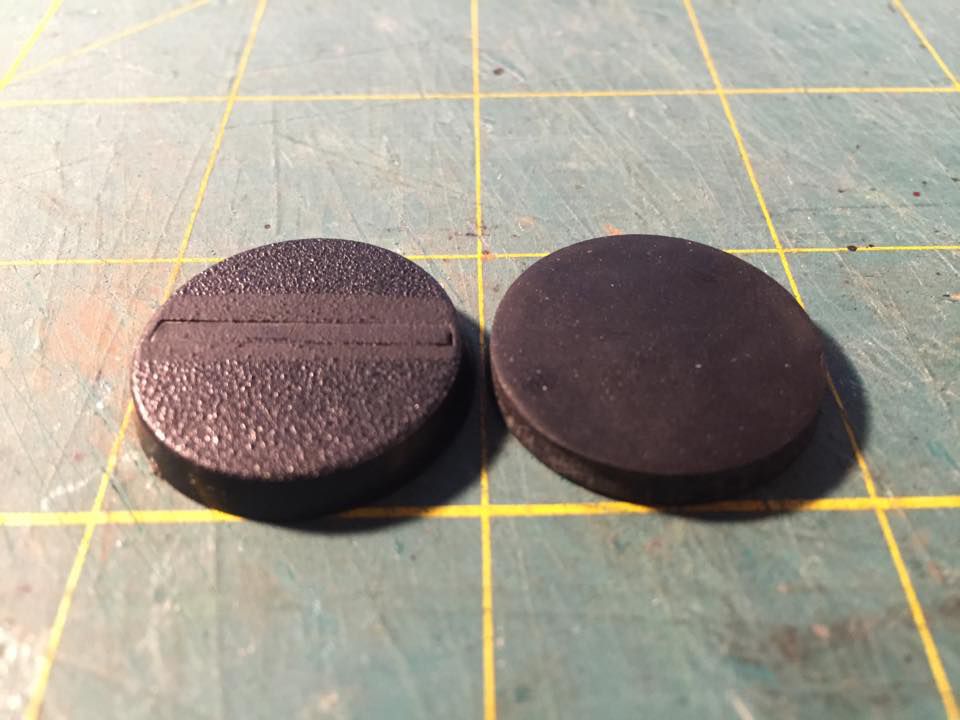
Here is one of such bases next to a GW base
We thank Graven Games for the photos. You can find more at:http://gravengames.co.uk/