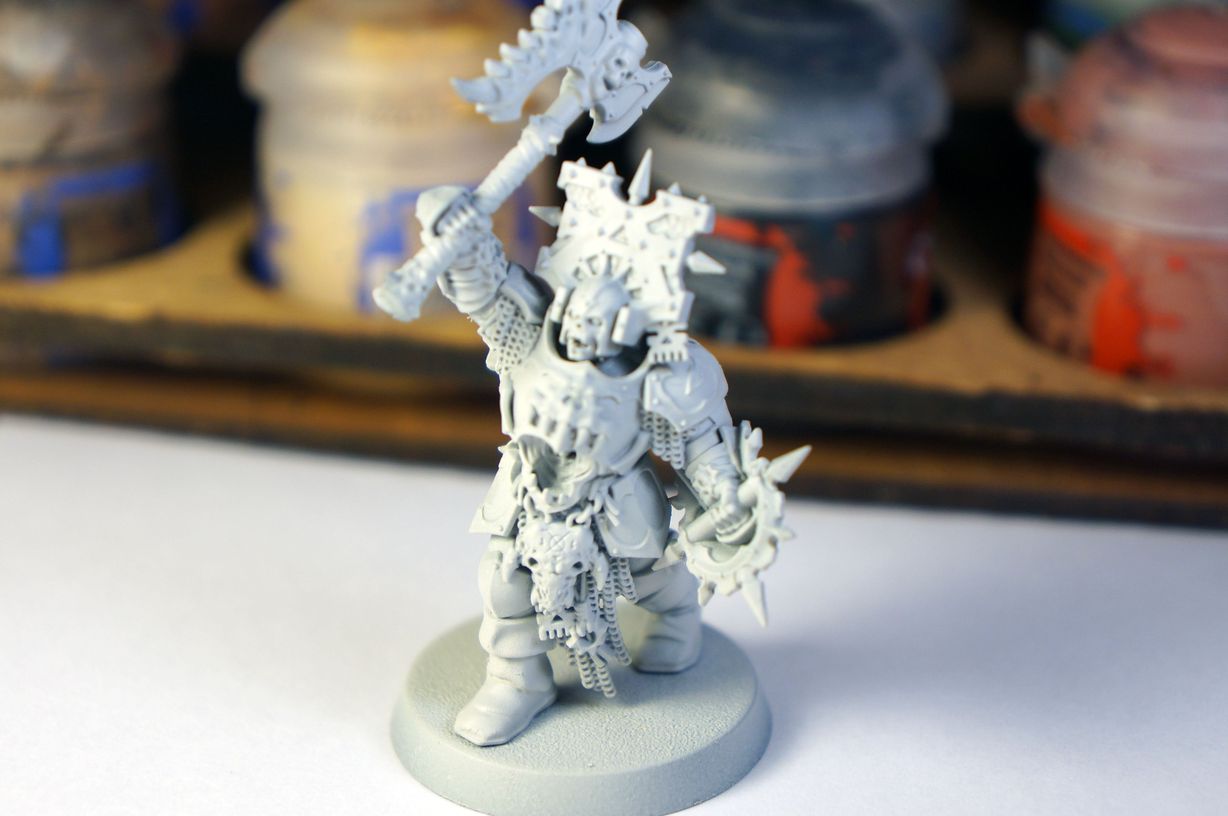
There are a lot of complicated painting techniques. However, if you are new to this hobby, you won't learn all of them from scratch. Today we bring you the guide which can help to paint your army easy, quick and nicely. It's perfect for you if you don't know how to use complicated painting styles, but the tournament is tomorrow. Everyone knows that a full-painted army demonstrates good taste and respect to the opponent. We'll paint the miniature of the Blood Warriors Chaos Champion from Age of Sigmar. This model has iron armor, bones, flesh, skin and gold - the most wide-spread materials. So, this guide can be applied to every miniature.
It's better to begin with the largest areas - in this case it's armor. We used Leadbelcher, for iron and Brass Scorpion. for brass edges. Also, we used Abaddon Black for chainmail. It's better to start painting with the deepest parts, and then cover the parts which stick out - it will reduce the number of mistakes. The model doesn't look pretty at this step, but we'll fix it really soon.

There are few mistakes which a good wash couldn't correct. Here we used Nuln Oil. Carefully cover all the painted parts and wait until it's completely dry. See? The armor really looks better now.
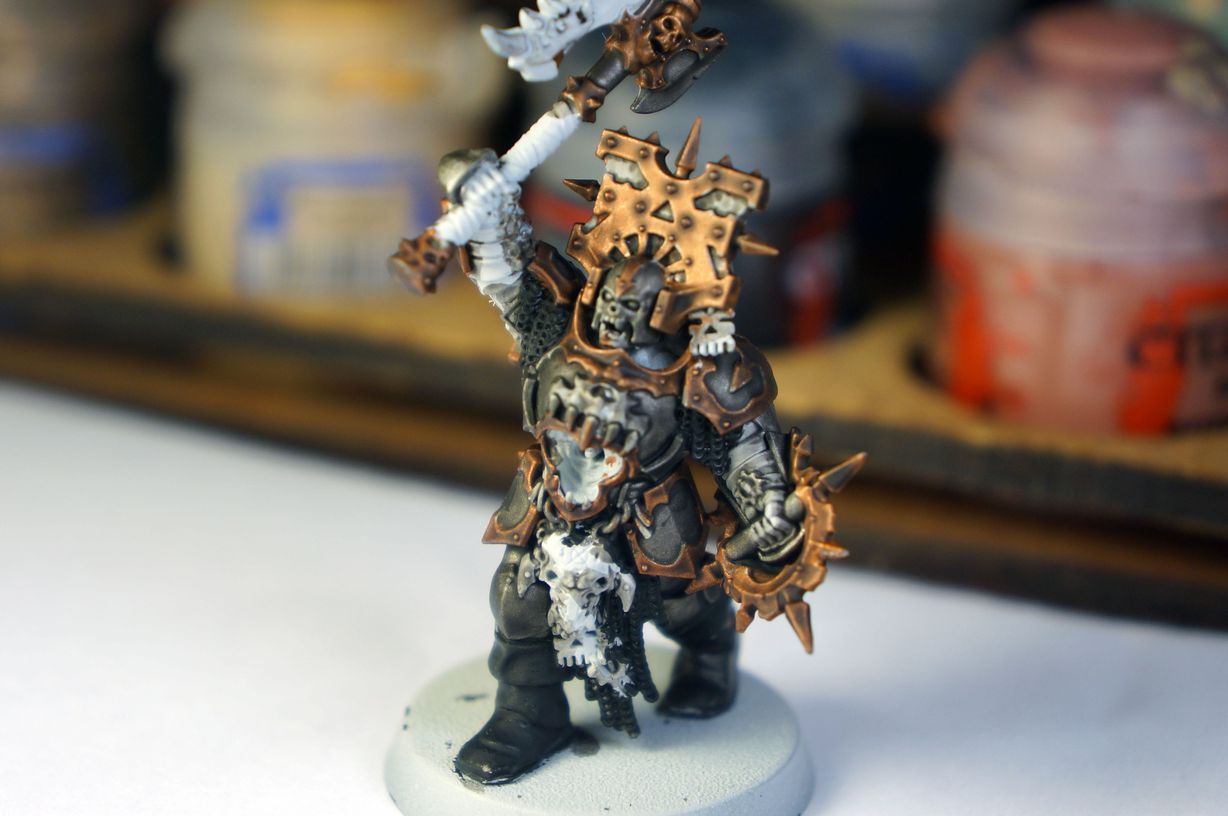
Highlights make model even more real. As for metallic paints, the easiest way is to use drybrushing. You can take a special paint Necron Compound, or drybrush traditionally with Runefang Steel. Anyway it's really important to know the limit. Don't cover non-metallic parts with your drybrush. That's why we didn't paint nothing but armor yet. Except for the boots. The result is a decent armor with a little effort.
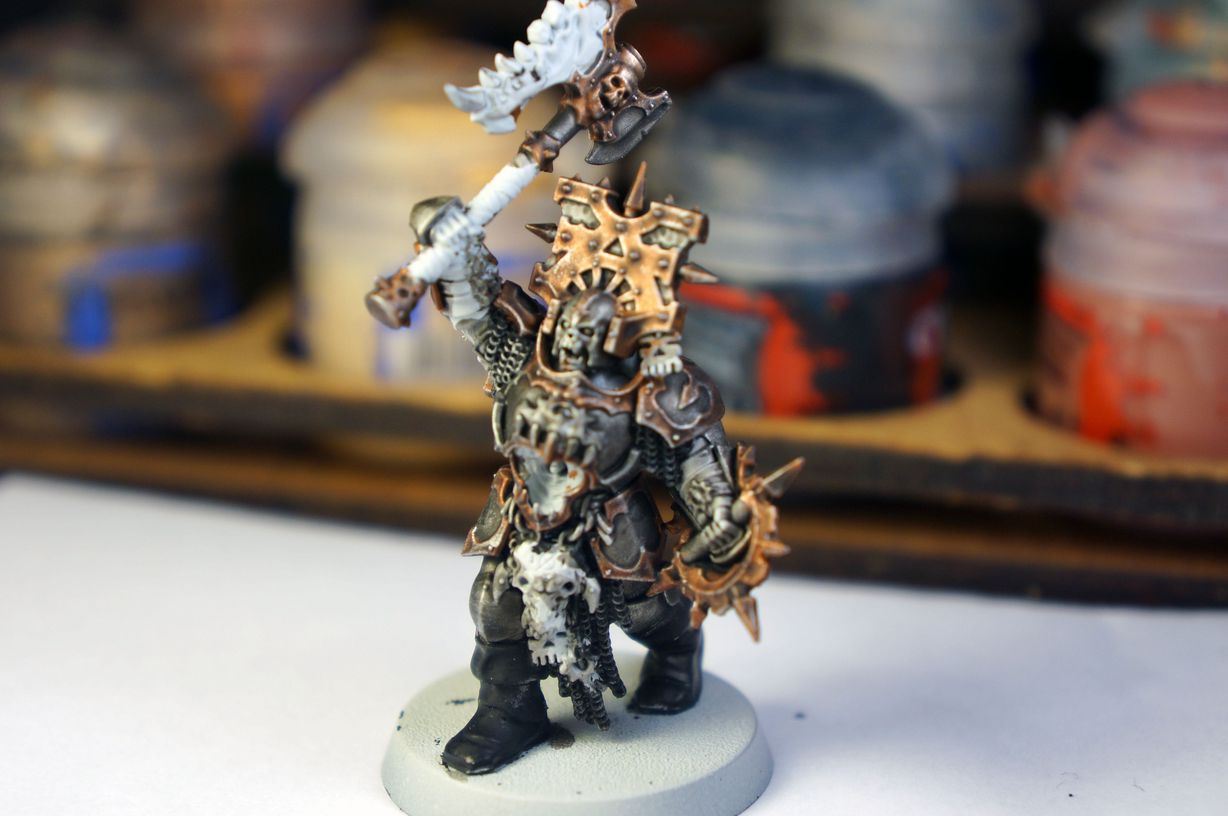
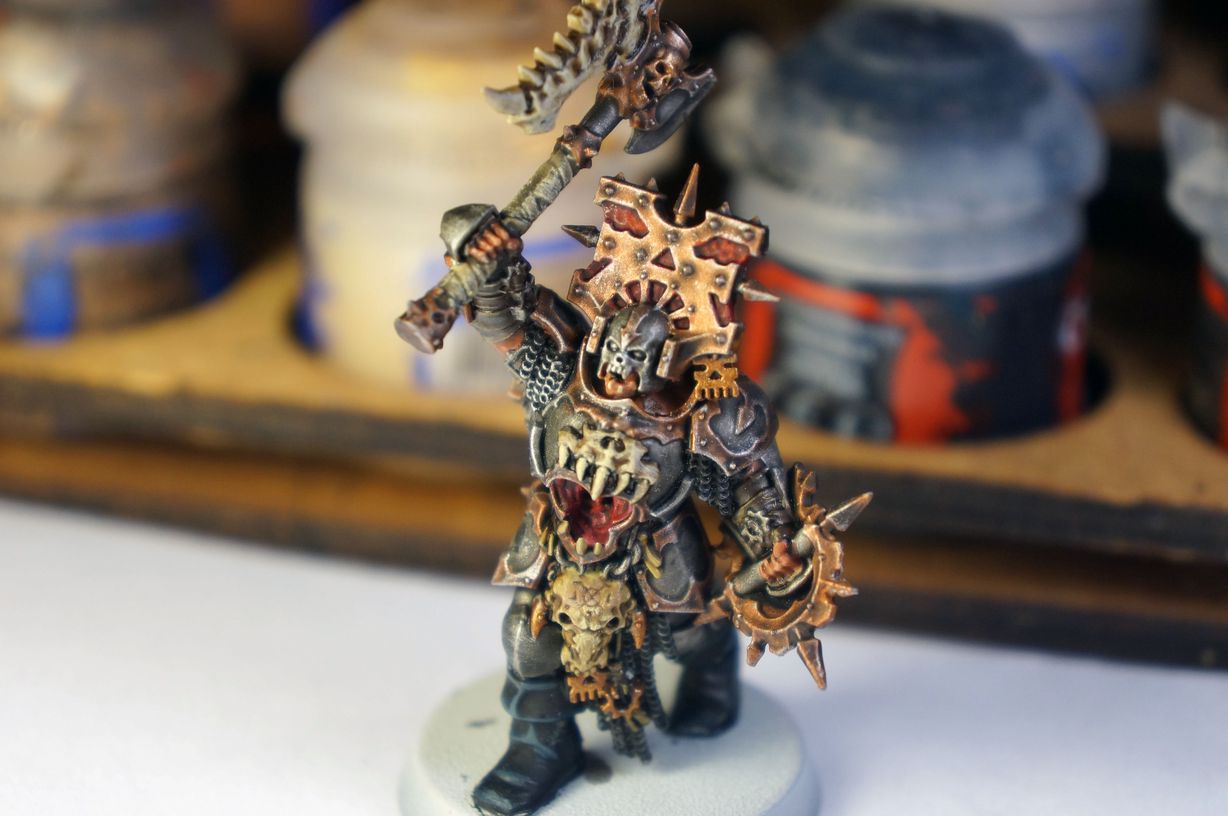
Now you can cover all the other parts with basic paints.. Dryad Bark - for belts, Khorne Red - for mutated maw in the stomach and helmet decoration, Zandri Dust - for bones, Baltasar Gold - for decoration, Bugman's Glow - for flesh. Sure, you can choose any other colors - we just give you some ideas for particular materials.

Again washing. In fact, the "Base-Wash-Layer" scheme is one of the easiest painting techniques. A good match for Bugman's Glow is Reikland Fleshshade. For bloody-red parts we chose Carrouburg Crimson, for anything else Agrax Earthshade is a perfect solution.
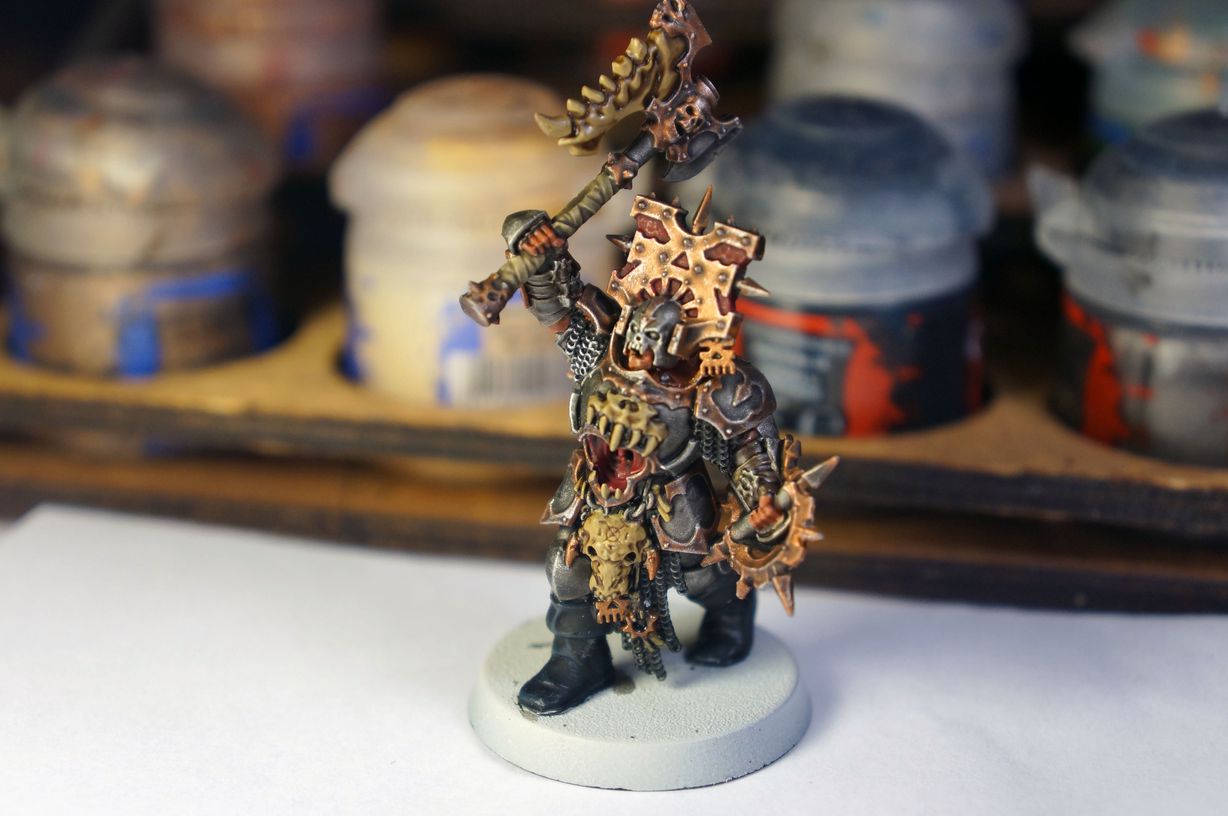
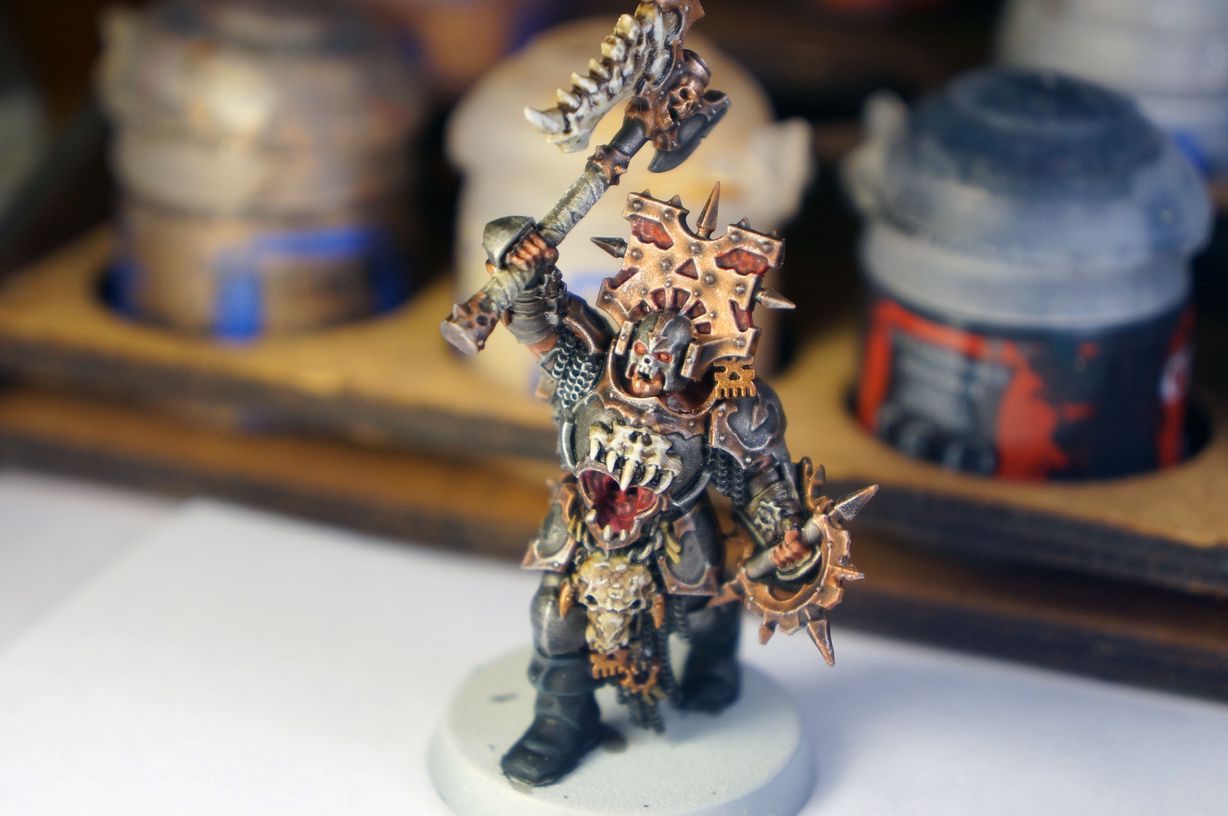
Highlights. If you don't have many paints you can just use the same colors as for the base, but mixed with white a little bit. If you have options, here are some good ideas for our color scheme. For flesh - Cadian Fleshtone, for gold - Gehenna's Gold, for bones - Ushabti Bone, for belts - Tallarn Sand, for chaos mutations - Screamer Pink и Mephiston Red. You can choose any other colors depending on your plan. The main point is to make highlights brighter than the base and leave previous layers to show. Don't use too much paint and don't put too thick layers. If you are having troubles with this - just use drybrush again.
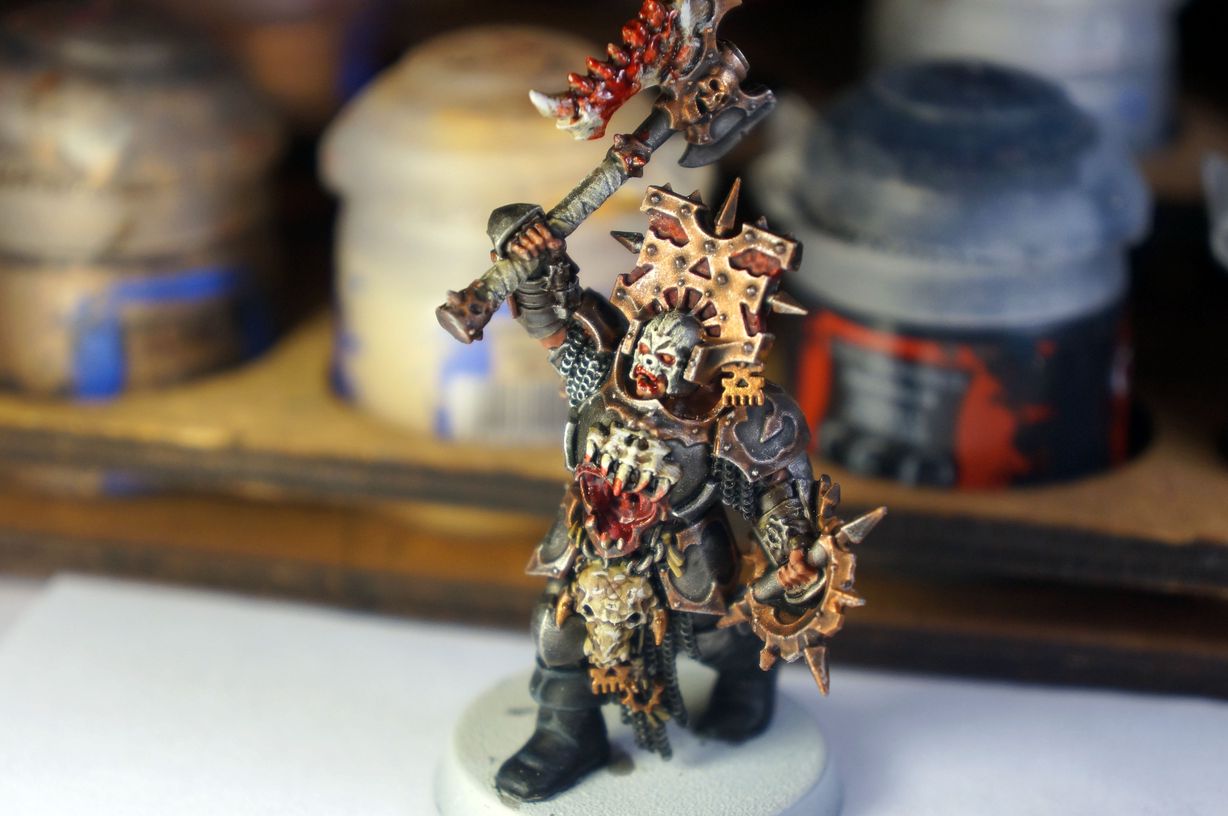
Since we've used gray primer, it's easy to paint the eyes by filling them with any glaze paint (here we used Bloodletter), and then put a small dots of the brightest tone of this color (Wild Rider Red). Now add some final highlights to bones and flesh with Pallid Wych Flesh, correct the mistakes, and the model is done!
Nothing stops you from adding some blood, battle damage or paint marks on the helmet (Is it a Champion, or not?) Only your imagination is a limit!
We'll talk about how to make a nice base in our next tutorial...
